Introduction
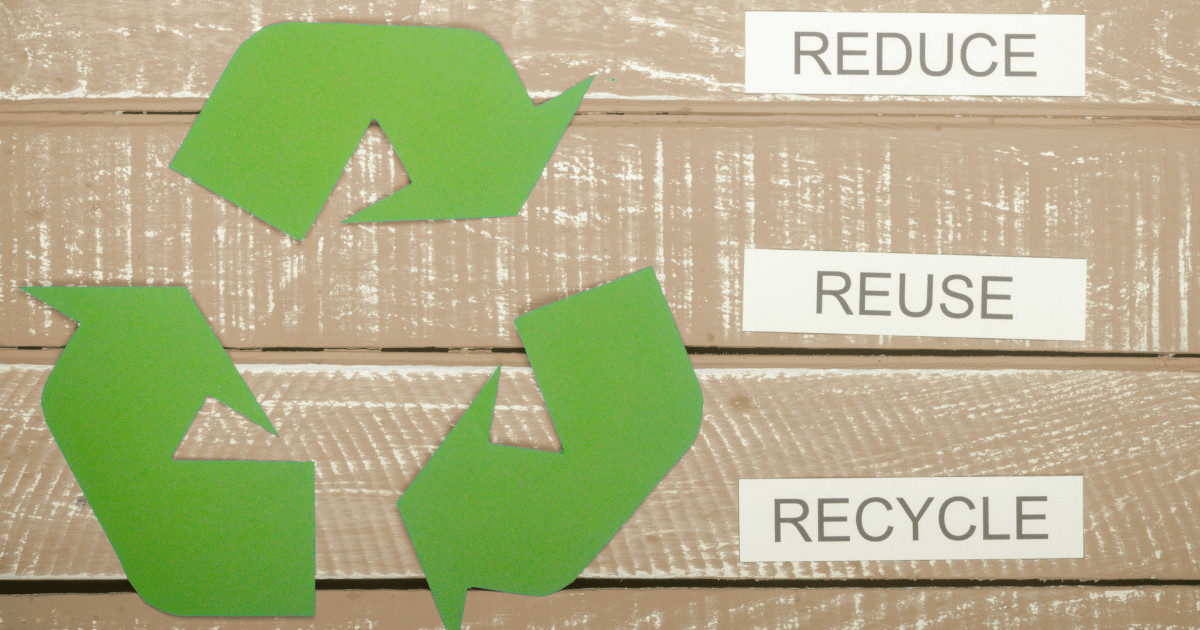
At DC Hauling Excavating & Gravel Driveway Specialists, we believe in sustainable practices that not only benefit your garden but also contribute positively to the environment. In this guide, we’ll show you how to repurpose everyday materials like cardboard and coffee grounds for eco-friendly gardening.
As the holiday season winds down, our homes often overflow with items that typically end up in the trash. But what if we told you that these everyday objects and holiday leftovers could be the key to a thriving garden come spring? In this article, we’ll explore how to turn your holiday waste into valuable resources for your garden.
How Can I Reuse My Amazon Boxes in My Garden?

Cardboard and Paper as Weed Suppressants: Cardboard and non-coated paper are excellent for suppressing weeds. When laid over soil, they block sunlight, which weeds need to grow, thus effectively preventing their growth.
How Can I Reuse Holiday Wrapping Paper in My Garden?

Creating a Layered Compost: These materials can be part of a layered composting technique, often called “sheet composting” or “lasagna gardening.” The process involves alternating layers of green (nitrogen-rich) and brown (carbon-rich) materials. Cardboard and non-coated paper are considered brown materials and provide a carbon source for the compost.
Decomposition Over Winter: During the colder months, these layers will gradually break down. The decomposition process is facilitated by the activity of worms and microorganisms in the soil. By spring, these layers will have partly decomposed, contributing to the soil’s nutrient content and structure.
Benefits for Spring Planting:The resulting decomposed material improves soil structure, enhances moisture retention, and provides nutrients. This creates an ideal environment for spring planting.
Considerations:
- Remove any Tape or Stickers: Before using cardboard or paper, it’s important to remove any tape, stickers, or other non-biodegradable materials that might be present.
- Shredding or Wetting: Shredding cardboard and paper or wetting them can help speed up the decomposition process.
- Balancing Carbon with Nitrogen: To ensure effective composting, balance these carbon-rich materials with nitrogen-rich materials like food scraps, grass clippings, or manure.
Adding cardboard and paper to garden beds as part of winter preparation is a practical and sustainable way to improve soil health and reduce waste. It’s an example of how everyday materials can be repurposed to benefit the environment.
How Do I Start a Compost Bin: A Beginners Guide
Choosing a Bin: You can start with a simple compost bin, which can be bought or homemade. It should have proper aeration and be easy to access for turning the compost.
Location: Place your compost bin in a dry, shady spot near a water source for convenience.
Adding to the Compost:
- Balancing Greens and Browns: Composting requires a balance between “greens” (nitrogen-rich materials like kitchen scraps and grass clippings) and “browns” (carbon-rich materials like dry leaves, cardboard, and paper). A good ratio to aim for is about 2:1 of browns to greens.
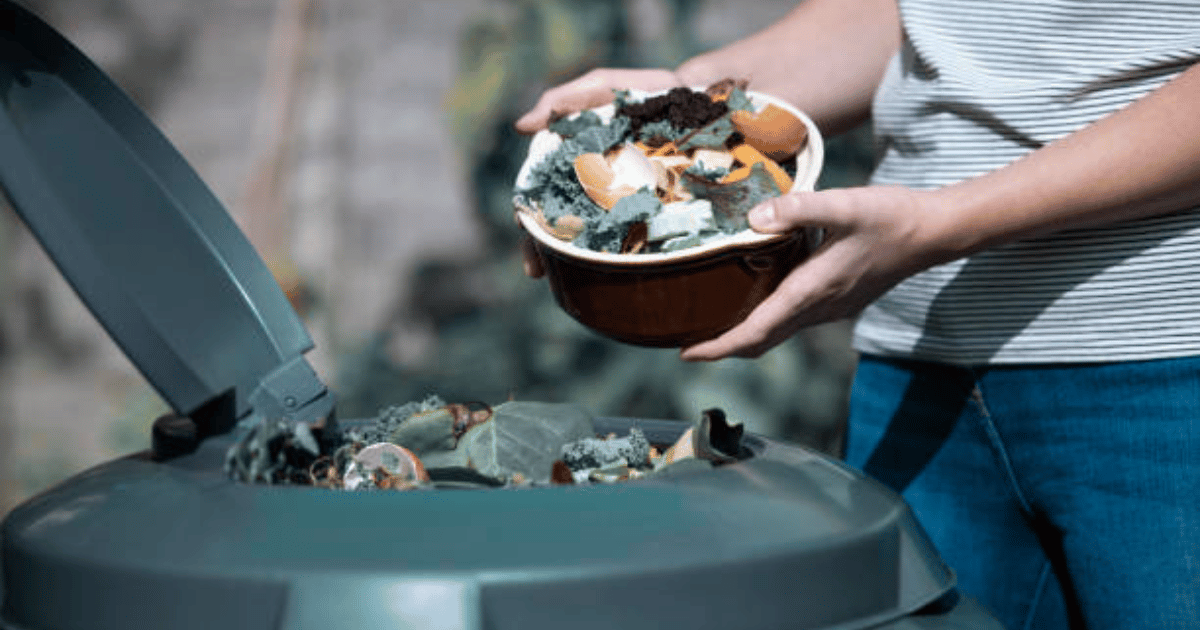
- What to Add: Include rotting pumpkins, vegetable and fruit scraps, coffee grounds, coffee filters, eggshells, and similar organic materials. Napkins can be composted if they’re not coated with plastic and haven’t been used with chemical cleaners.
- What to Avoid: Don’t add meat, dairy, or oily foods as they can create odor problems and attract pests.
Decomposition Process:
- Time Frame: The decomposition time can vary, generally taking anywhere from a few months to a year. The process can be quicker if the compost is regularly turned and maintained properly.
- Factors Affecting Decomposition: The size of the compost materials (smaller pieces decompose faster), the balance of greens and browns, moisture level, and temperature all affect how quickly the compost breaks down.
- Turning the Compost: Regularly turning the compost (every few weeks) helps aerate it and speeds up the decomposition process.
Compost Readiness:
- Appearance and Smell: Compost is ready when it’s dark, crumbly, and has an earthy smell. It shouldn’t have any recognizable food or garden waste.
- Usage: Once ready, compost can be used to enrich garden soil, improve soil structure, and provide nutrients to plants.
Tips for Beginners:
- Start Small: Begin with a manageable-sized bin and gradually increase as you become more comfortable with the process.
- Monitor Moisture: Your compost should be moist but not soggy. If it’s too dry, add water; if too wet, add more browns.
- Learn As You Go: Composting is a learning process. Don’t be afraid to adjust and experiment to find what works best in your environment.
In summary, composting with holiday kitchen scraps is a great way to reduce waste and improve your garden. The process requires some attention and maintenance but is generally straightforward and highly beneficial for both your garden and the environment.
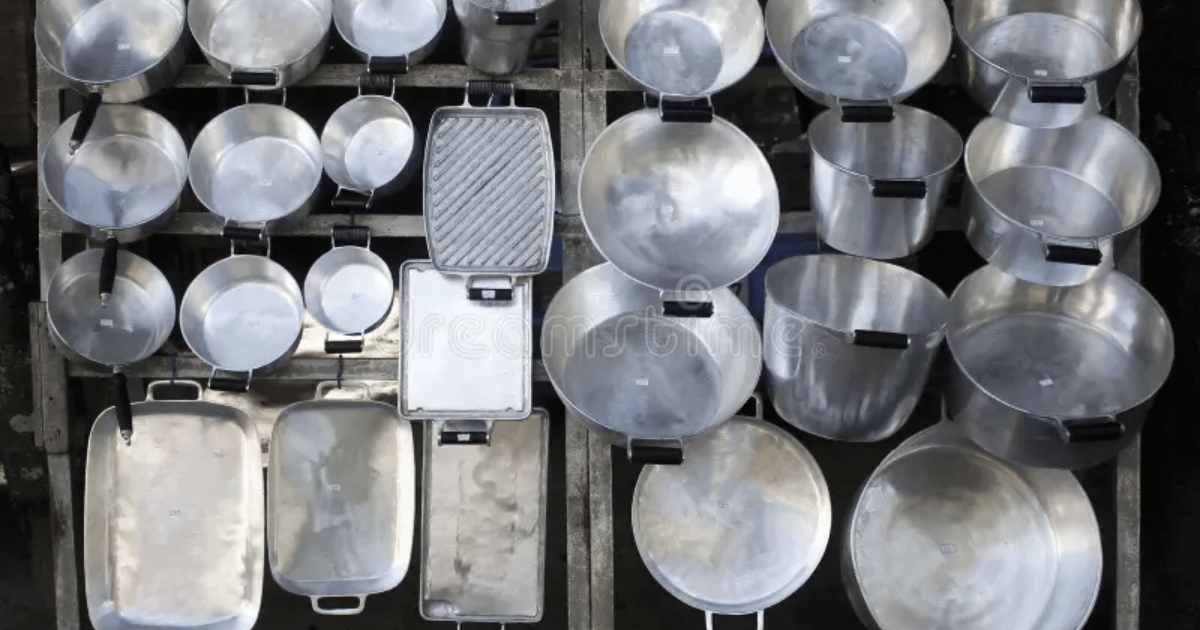
How Can I Reuse Aluminum Pans in My Garden?
Starting Seeds Indoors:
- Aluminum Pans as Seed Starters: Aluminum pans, especially those with plastic domed lids, are excellent for starting seeds indoors. The domed lid acts as a mini greenhouse, trapping essential moisture and warmth for seed germination.
- How to Use: Fill the pan with seed starting mix, plant your seeds, and cover with the lid. Position it in a warm area with good light, ensuring you open the lid occasionally for ventilation and to prevent mold growth.
Creating Mini-Greenhouses:
- Protecting Plants from Frost: Aluminum pans can be used to create mini-greenhouses, which are particularly useful in early spring to protect young or tender plants from frost.
- Implementation: Invert the pan over the plant to form a protective cover.
Collecting Rainwater:
- Using Pans for Water Collection: Aluminum pans are suitable for collecting rainwater, a sustainable watering solution for gardens. Rainwater is preferable for plants as it is naturally soft and free of chlorine and other chemicals found in tap water.
- Effective Use: Place empty aluminum pans around your garden to collect rainwater, which can then be used for your plants or stored for future use.
- Bonus Tip: These pans can also be repurposed for carrying harvested fruits and vegetables or gathering garden waste.
These repurposing ideas for aluminum pans align with sustainable gardening practices, providing simple yet effective solutions for challenges like seed starting, water collection, and plant protection.
How Can I Reuse Milk Jugs in My Garden?
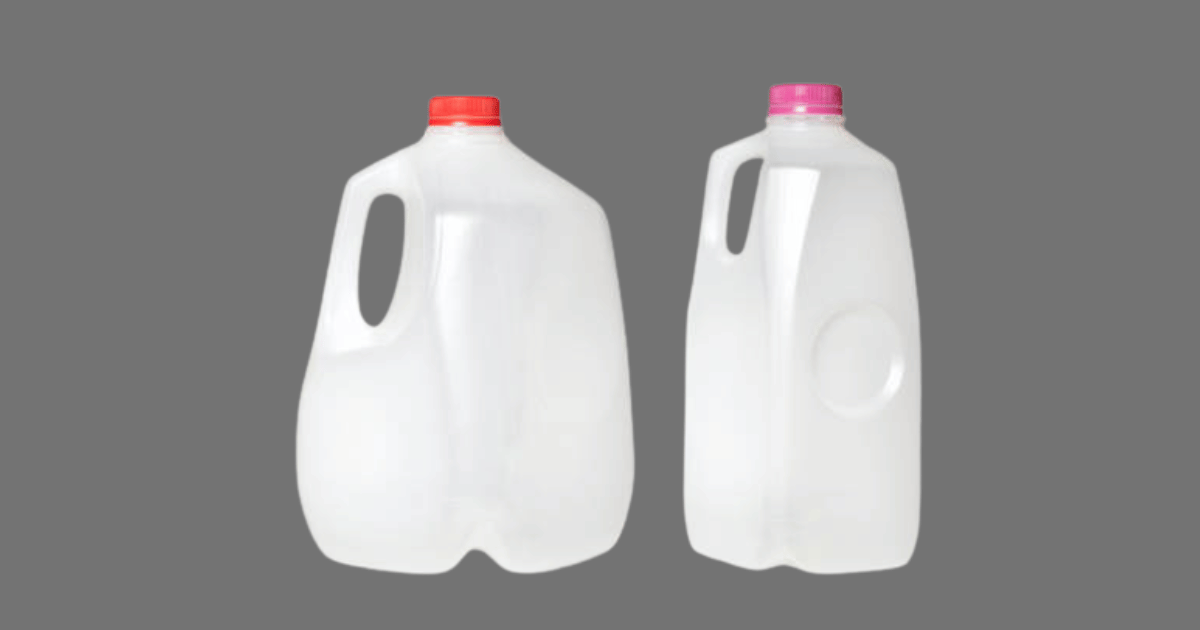
Scoops and Shovels:
- Cut the bottom off a milk jug to create a handy scoop for soil, compost, mulch, or birdseed, useful for potting plants or distributing mulch.
DIY Watering Can:
- Transform a milk jug into a watering can by poking holes in the lid, ideal for gently watering seedlings or small plants.
Storage Containers:
- Milk jugs make excellent storage containers for seeds, homemade fertilizers, or de-icing salt, protecting contents from moisture and pests.
Mini Greenhouses:
- Use a halved milk jug to cover young plants, protecting them from frost and creating a mini greenhouse environment.
Irrigation System:
- Bury jugs with small holes near plants to create a slow-release watering system, particularly useful for deep watering during hot weather.
Weights for Garden Structures:
- Fill milk jugs with water or sand to secure canopies, garden netting, or lightweight structures.
Bird Feeders:
- Create bird feeders by cutting openings in milk jugs and filling them with birdseed.
Plant Markers:
- Use strips of milk jugs to write plant names and use them as markers.
Garden Art:
- Paint or decorate milk jugs for whimsical garden decorations or kid-friendly projects.
Rain Gauge:
- A milk jug with marked measurements can serve as a simple rain gauge.
These uses of milk jugs in the garden contribute to reducing waste and repurposing common household items, offering practical benefits for gardening and landscaping needs.
How Can I Reuse Tuna Cans in My Garden?
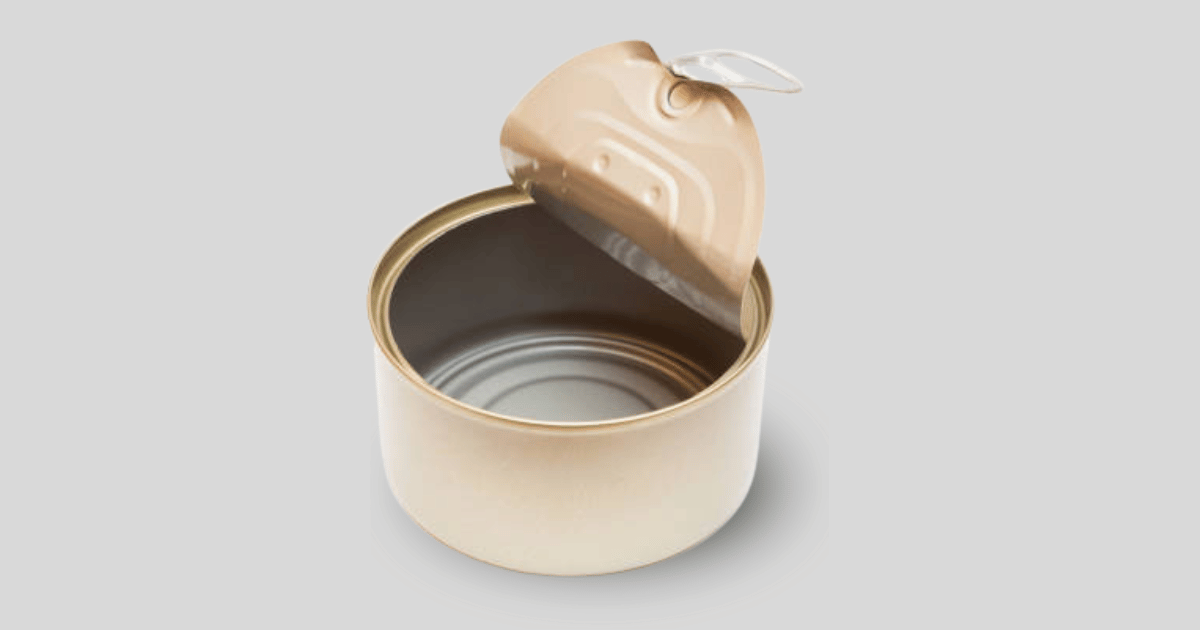
Watering Guide for Grass Seeding:
- Usage: Place a tuna can in the area you’re watering to measure the ideal 1-inch depth for grass seed watering.
Planting Seeds in Winter:
- Generally, it’s best to plant grass seeds in early fall or spring. Winter planting is not advised for most seeds due to cold, wet conditions.
Best Time for Watering Grass Seeds:
- Early Morning: Watering in the early morning allows soil to absorb water without excessive evaporation.
Expectation of Weeds:
- Be aware that weeds often sprout before grass, necessitating regular maintenance and lawn care.
Seed Starters:
- Repurposing Cans: Larger tuna cans can be used as seed starters. Poke drainage holes, fill with soil, and plant your seeds.
Organization in Garden Shed or Greenhouse:
- Storage Solution: Use tuna cans to organize small gardening items, placing them in drawers or on workbenches for easy access.
As a Coaster in the Garden Work Area:
- Practical Use: Secure a tuna can to your work surface to serve as a coaster, preventing wet or muddy spots.
Incorporating these uses of tuna cans into your gardening routine offers practical benefits and contributes to environmentally friendly practices by repurposing and reducing waste.
How Can I Repurpose My Christmas Tree and Wreaths in My Garden?

Shelter for Wildlife:
- Natural Habitats: Utilize your holiday trees and wreaths to create shelters for birds and other wildlife in your yard. These natural habitats offer crucial protection and resting places during colder months.
Mulching Material:
- Garden Bed Mulch: Convert the branches of your holiday trees and wreaths into mulch for garden beds, helping to retain soil moisture, suppress weeds, and enrich the soil with nutrients as they decompose.
- Note on Decomposition: Be aware that pine needles decompose slowly and can slightly acidify the soil, which is beneficial for acid-loving plants.
Caution with Burning:
- Burning Pine Wood: Be cautious when burning wood from holiday trees, as pine wood burns hot and fast, producing sparks and intense flames. Avoid using pine wood in indoor fireplaces to prevent creosote buildup and fire hazards. Always adhere to safety guidelines for outdoor fires.
Pinecone Bird Feeders:
- DIY Bird Feeders: Transform pine cones into bird feeders by covering them in peanut butter, rolling them in birdseed, and hanging them on trees. This enjoyable activity creates feeders that attract and nourish local birds.
Fish Habitat in Ponds:
- Submerged Pine Trees: Place pine trees in farm ponds to provide excellent cover and breeding grounds for fish. Ensure all decorations are removed and the tree is securely anchored. This practice can enhance the pond’s ecosystem, but it’s important to maintain a balance of aquatic life and comply with local regulations.
Additional Tips:
- Location for Wildlife: Optimize the positioning of trees and wreaths for wildlife by placing them near other trees or shrubs for additional cover and protection.
- Removing Decorations: Prior to using trees and wreaths for wildlife support or mulching, ensure all decorations, tinsel, and artificial materials are removed to prevent harm to animals and the environment.
Repurposing your holiday trees and wreaths is a fantastic way to enhance your garden’s sustainability and support local wildlife.
Conclusion
At DC Hauling Excavating & Gravel Driveway Specialists, Inc, we’re passionate about finding eco-friendly solutions that benefit both your garden and the environment. By adopting these practices, you’re not just beautifying your garden; you’re actively contributing to a greener, more sustainable world.